Yaesu FT-70DR Handheld Transceiver Crash Course
It’s likely for new users to get lost in the all-inclusive official manuals and here is a task-oriented guide to rescue.
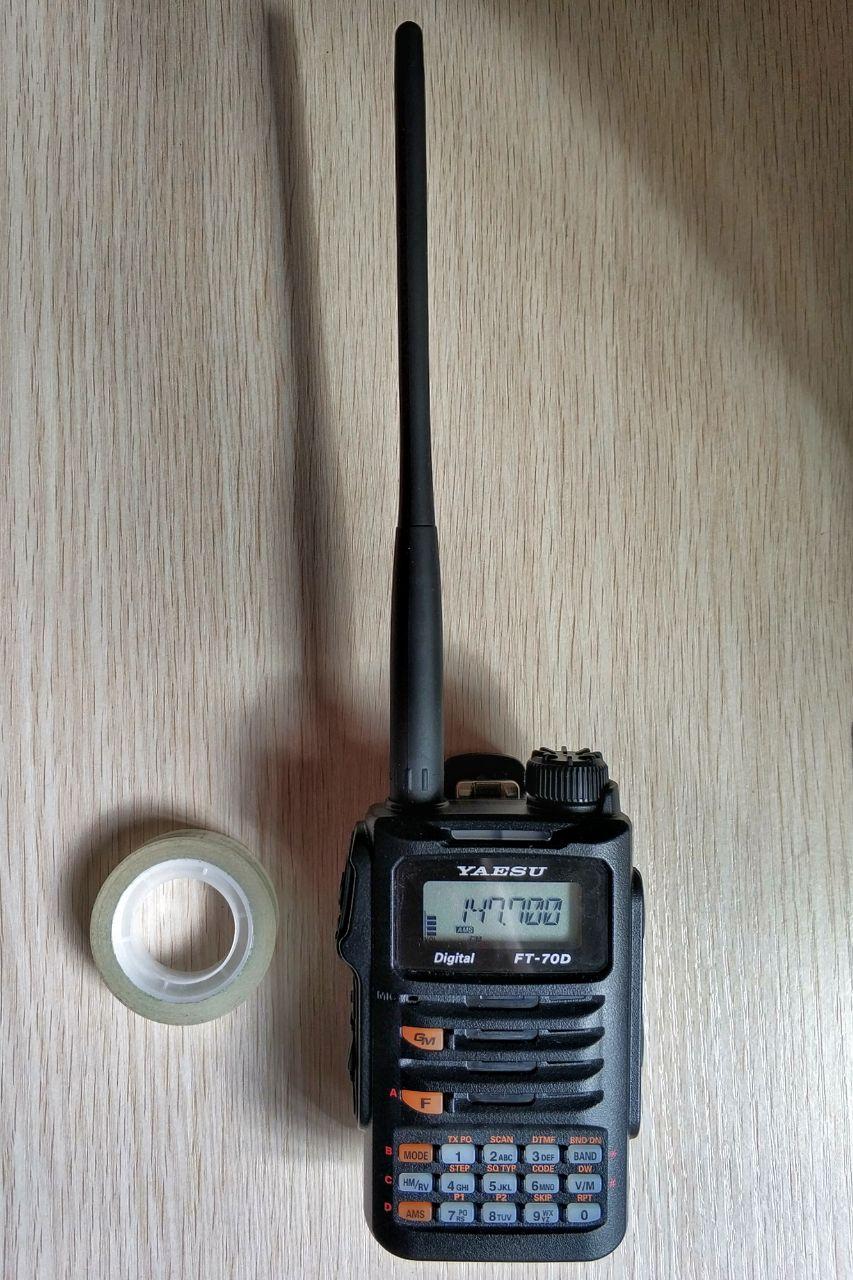
Technical Spec
Yaesu FT-70DR is a handheld transceiver suited for amateur radio, which provides both conventional analog FM mode and C4FM digital mode. It comes with 108 MHz - 580 MHz receive coverage(including aircraft bands), broadcasts on 144 -148 MHz and 430 - 440 MHz, and has one 7.4 V 1800 mAh li-ion battery.
Personally I think it is a small, handy and versatile handheld transceiver, except its a little short typical battery life and a little long charging time.
Operation Task
Basic Operation
First of all, you may read the Controls and Connection part of the operation manual. Here lists a few key points:
- PTT button on the left side: Press and hold to talk and release after finished. It only transmits on 144 -148 MHz and 430 - 440 MHz, and error is raised if you try to transmit on other frequencies;
- Power button on the left side: Long press to switch on/off device, click when powered on to lock device, and click again to unlock;
- DIAL knob on the up side: rotate the knob to change the frequency or channel;
- MODE key: switch between analog FM mode and C4FM digital mode;
- BAND key: click to move operation to next highest frequency band;
- F key: works like Shift key on computer keyboard, F icon shows up on the LCD after the F key is clicked, now click other key to trigger its secondary function, which is labeled above the key.
Scanning Frequencies for Signals
- If in need, click BAND key multiple times to select operation band;
- Click F key so that F icon appears on the LCD, and click num 2 key(SCAN) to start scanning, which only operates at current band;
- If in need, rotate DIAL knob to change scanning direction(frequency ascending/descending);
- When signal is detected, scanning is automatically paused for a few seconds to wait for your decision, you can choose to stop right here with a click on PTT button, or rotate DIAL knob to skip this frequency at once to continue scanning. Scanning resumes by itself after the timeout.
Communicating via a Repeater
Repeater usually comes with its output frequency, along with its offset, where its direction is denoted with “-/+"(minus/plus) sign and its absolute value is usually 600 kHz.
Say we are going to communicate via a 2-meter analog repeater described as “147.34 with a plus offset”, meaning that:
- the repeater transmits on 147.34 MHz and receives on 147.94 MHz, 600 kHz above the output frequency;
- hams do the opposite, listening on 147.34 MHz and transmits on 147.94 MHz.
Here is the way to set up:
- When in need, Click MODE key to switch to FM mode;
- When in need, Click F key so that F icon appears on the LCD, click num 4 key(STEP) and choose appropriate frequency step with DIAL knob;
- Key in
147340on numpad so that the LCD shows147.340; - Click F key so that F icon appears on the LCD, click num 0(RPT), select
RPT+with DIAL knob and confirm by clicking F key. Now+sign should appear on the LCD; - Long press F to enter menu, go to setting #46
RPT.FRQ(absolute value of the offset) using DIAL knob, click F key to enter, choose0.6Mwith DIAL knob, and click PTT button to confirm.
If the repeater have a tone access control(CTCSS), say at 77 Hz, the following further steps needs to be done:
- Click F key so that F icon appears on the LCD, click num 5 key(SQ TYP), use DIAL knob to select
TONE(transmitting with tone), and confirm by clicking F key. NowTsign should appear on the LCD; - Click F key so that F icon appears on the LCD, click num 6 key(CODE), use DIAL knob to select 77 Hz, and confirm by clicking F key.
Finally, let’s do a test drive:
- Press and hold PTT button, the frequency on the LCD should change from
147.340to147.940; - Release PTT button, you should be able to hear the tail echo of what you just sent from the repeater.
If you are in Europe, you may need to press MONI/T CALL button to transmit a short burst of 1750 Hz tone to open the repeater.
Registering Channel into Memory
Click V/M key to switch between frequency mode and channel mode.
- Get thing set up under frequency mode, including repeater offset and tone, if applicable;
- Long press V/M key until F icon blinks on the LCD;
- Use DIAL knob to select your favorite channel number;
- Click V/M key and key in the channel name with numpad;
- Long press V/M key to save the channel into memory.
When key in the channel name:
- Click BAND key to move the cursor leftward;
- Click MODE key to move the cursor rightward;
- Press and hold GM key to delete all content after the cursor.
Looking for Answer?
You may consult FT-70DR Product Page on Yaesu’s website, click “Files” button to access operating manual and advanced manual.
Have fun!
